FROM GARAGE TO PRINT HUB
Following a printing evening class at West Herts College I discovered a natural affinity for printmaking. I make linocuts, drypoints, woodcuts, mono prints, collagraphs and etchings. Many thanks to Lucy Curnow and Paul Gale for their patience – they were an inspiration and made sure I developed no bad habits.
Of the broad range of printmaking techniques we covered, photopolymer etching is the one that has most influenced me and consequently the design of my home studio.
I have been lucky enough to find excellent artists and work with them in their studios, essentially creating my own art school curriculum. I am grateful to Sheila de Rosa, Helen Boden and Susan Turner for letting me really understand the creative possibilities of photopolymer etching.
USING THE SPACE
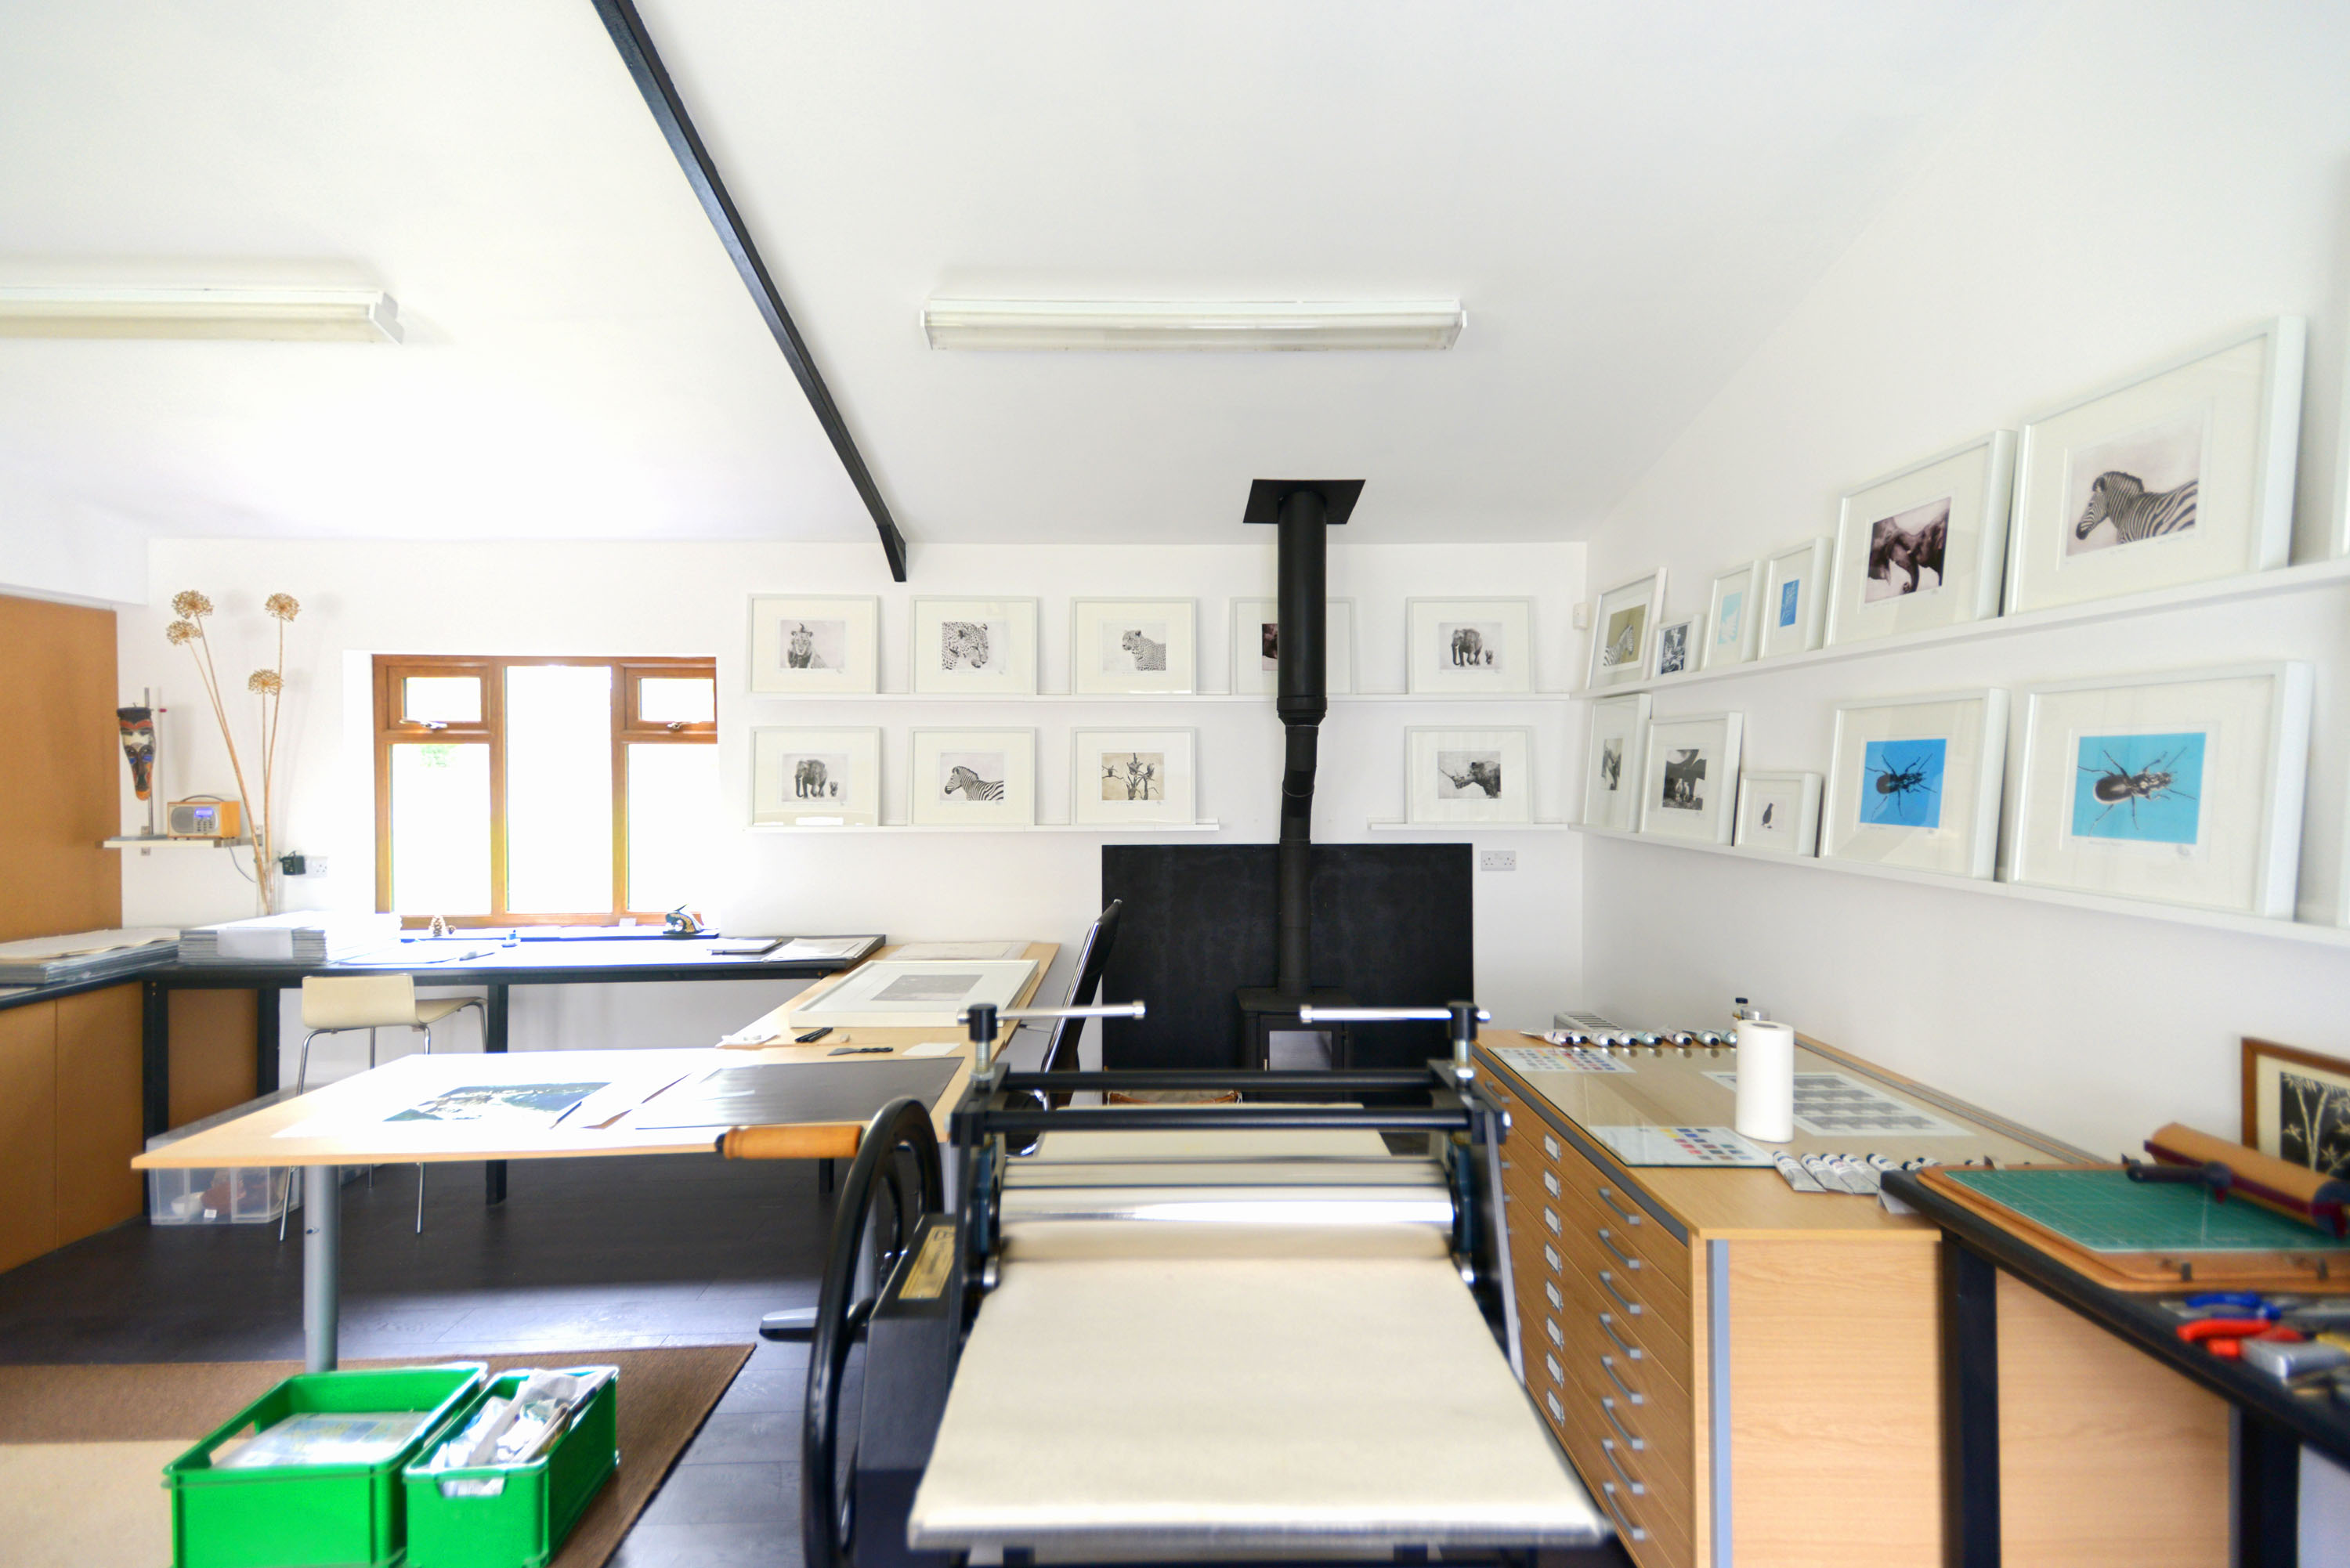
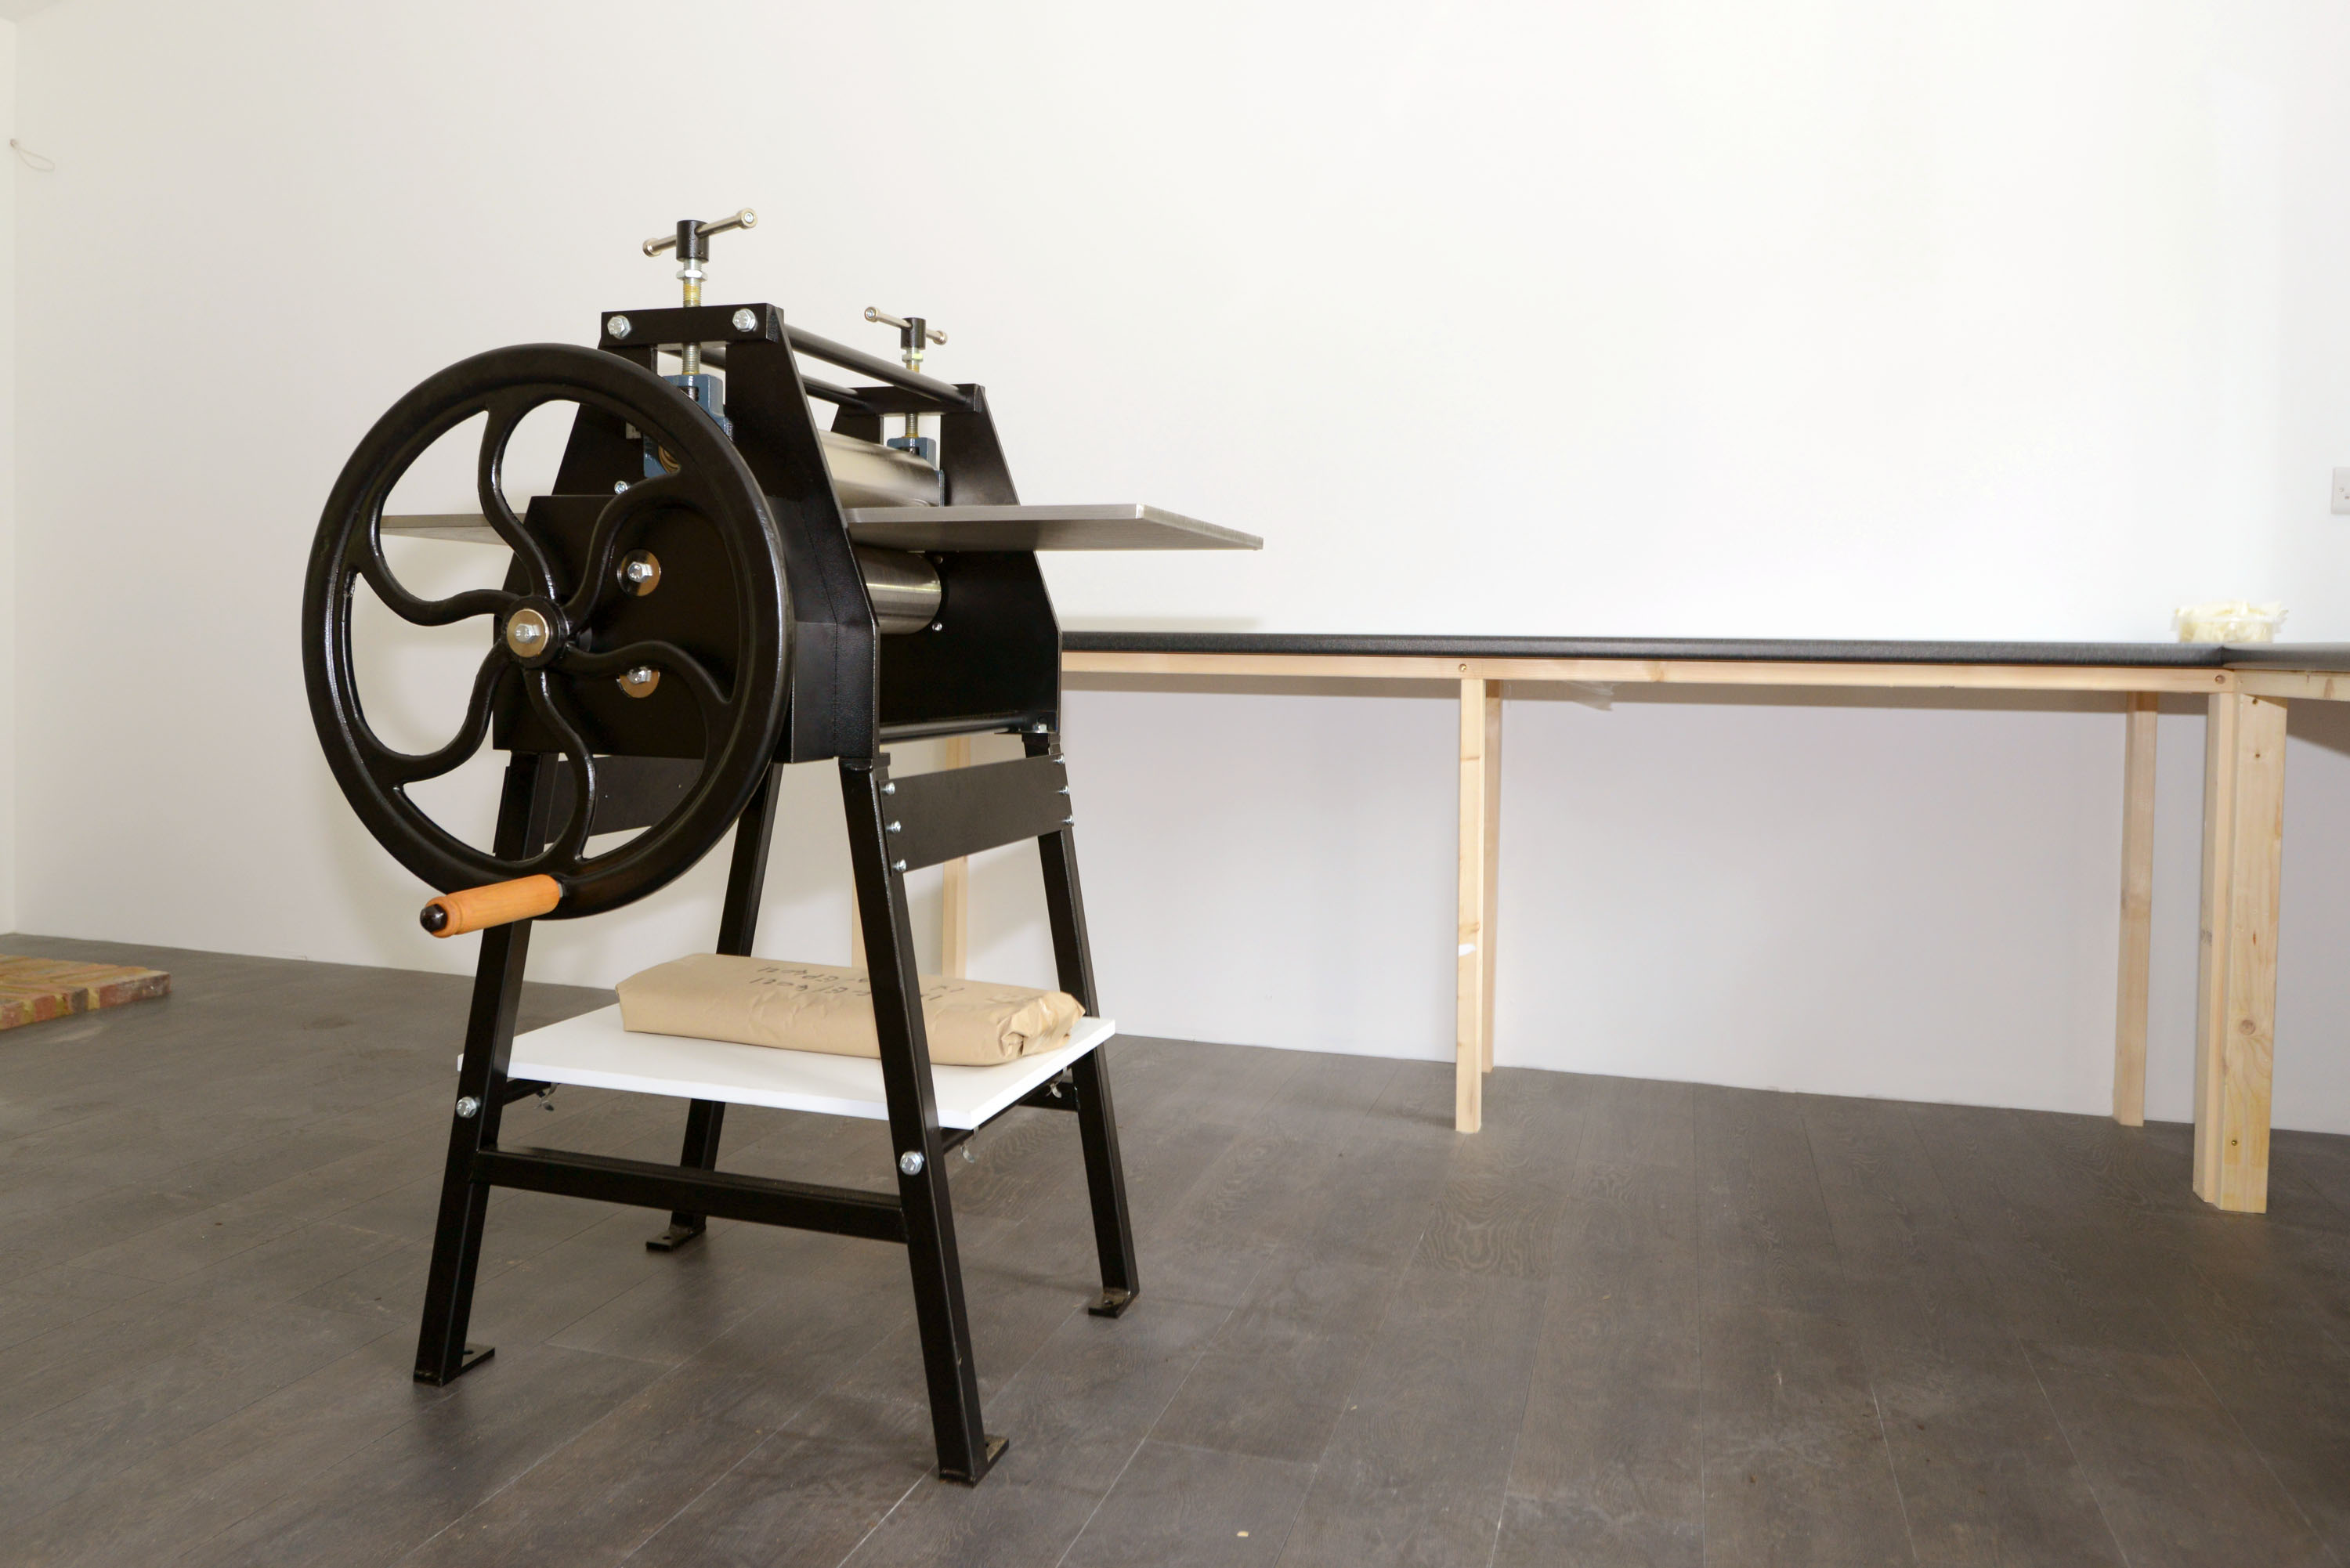
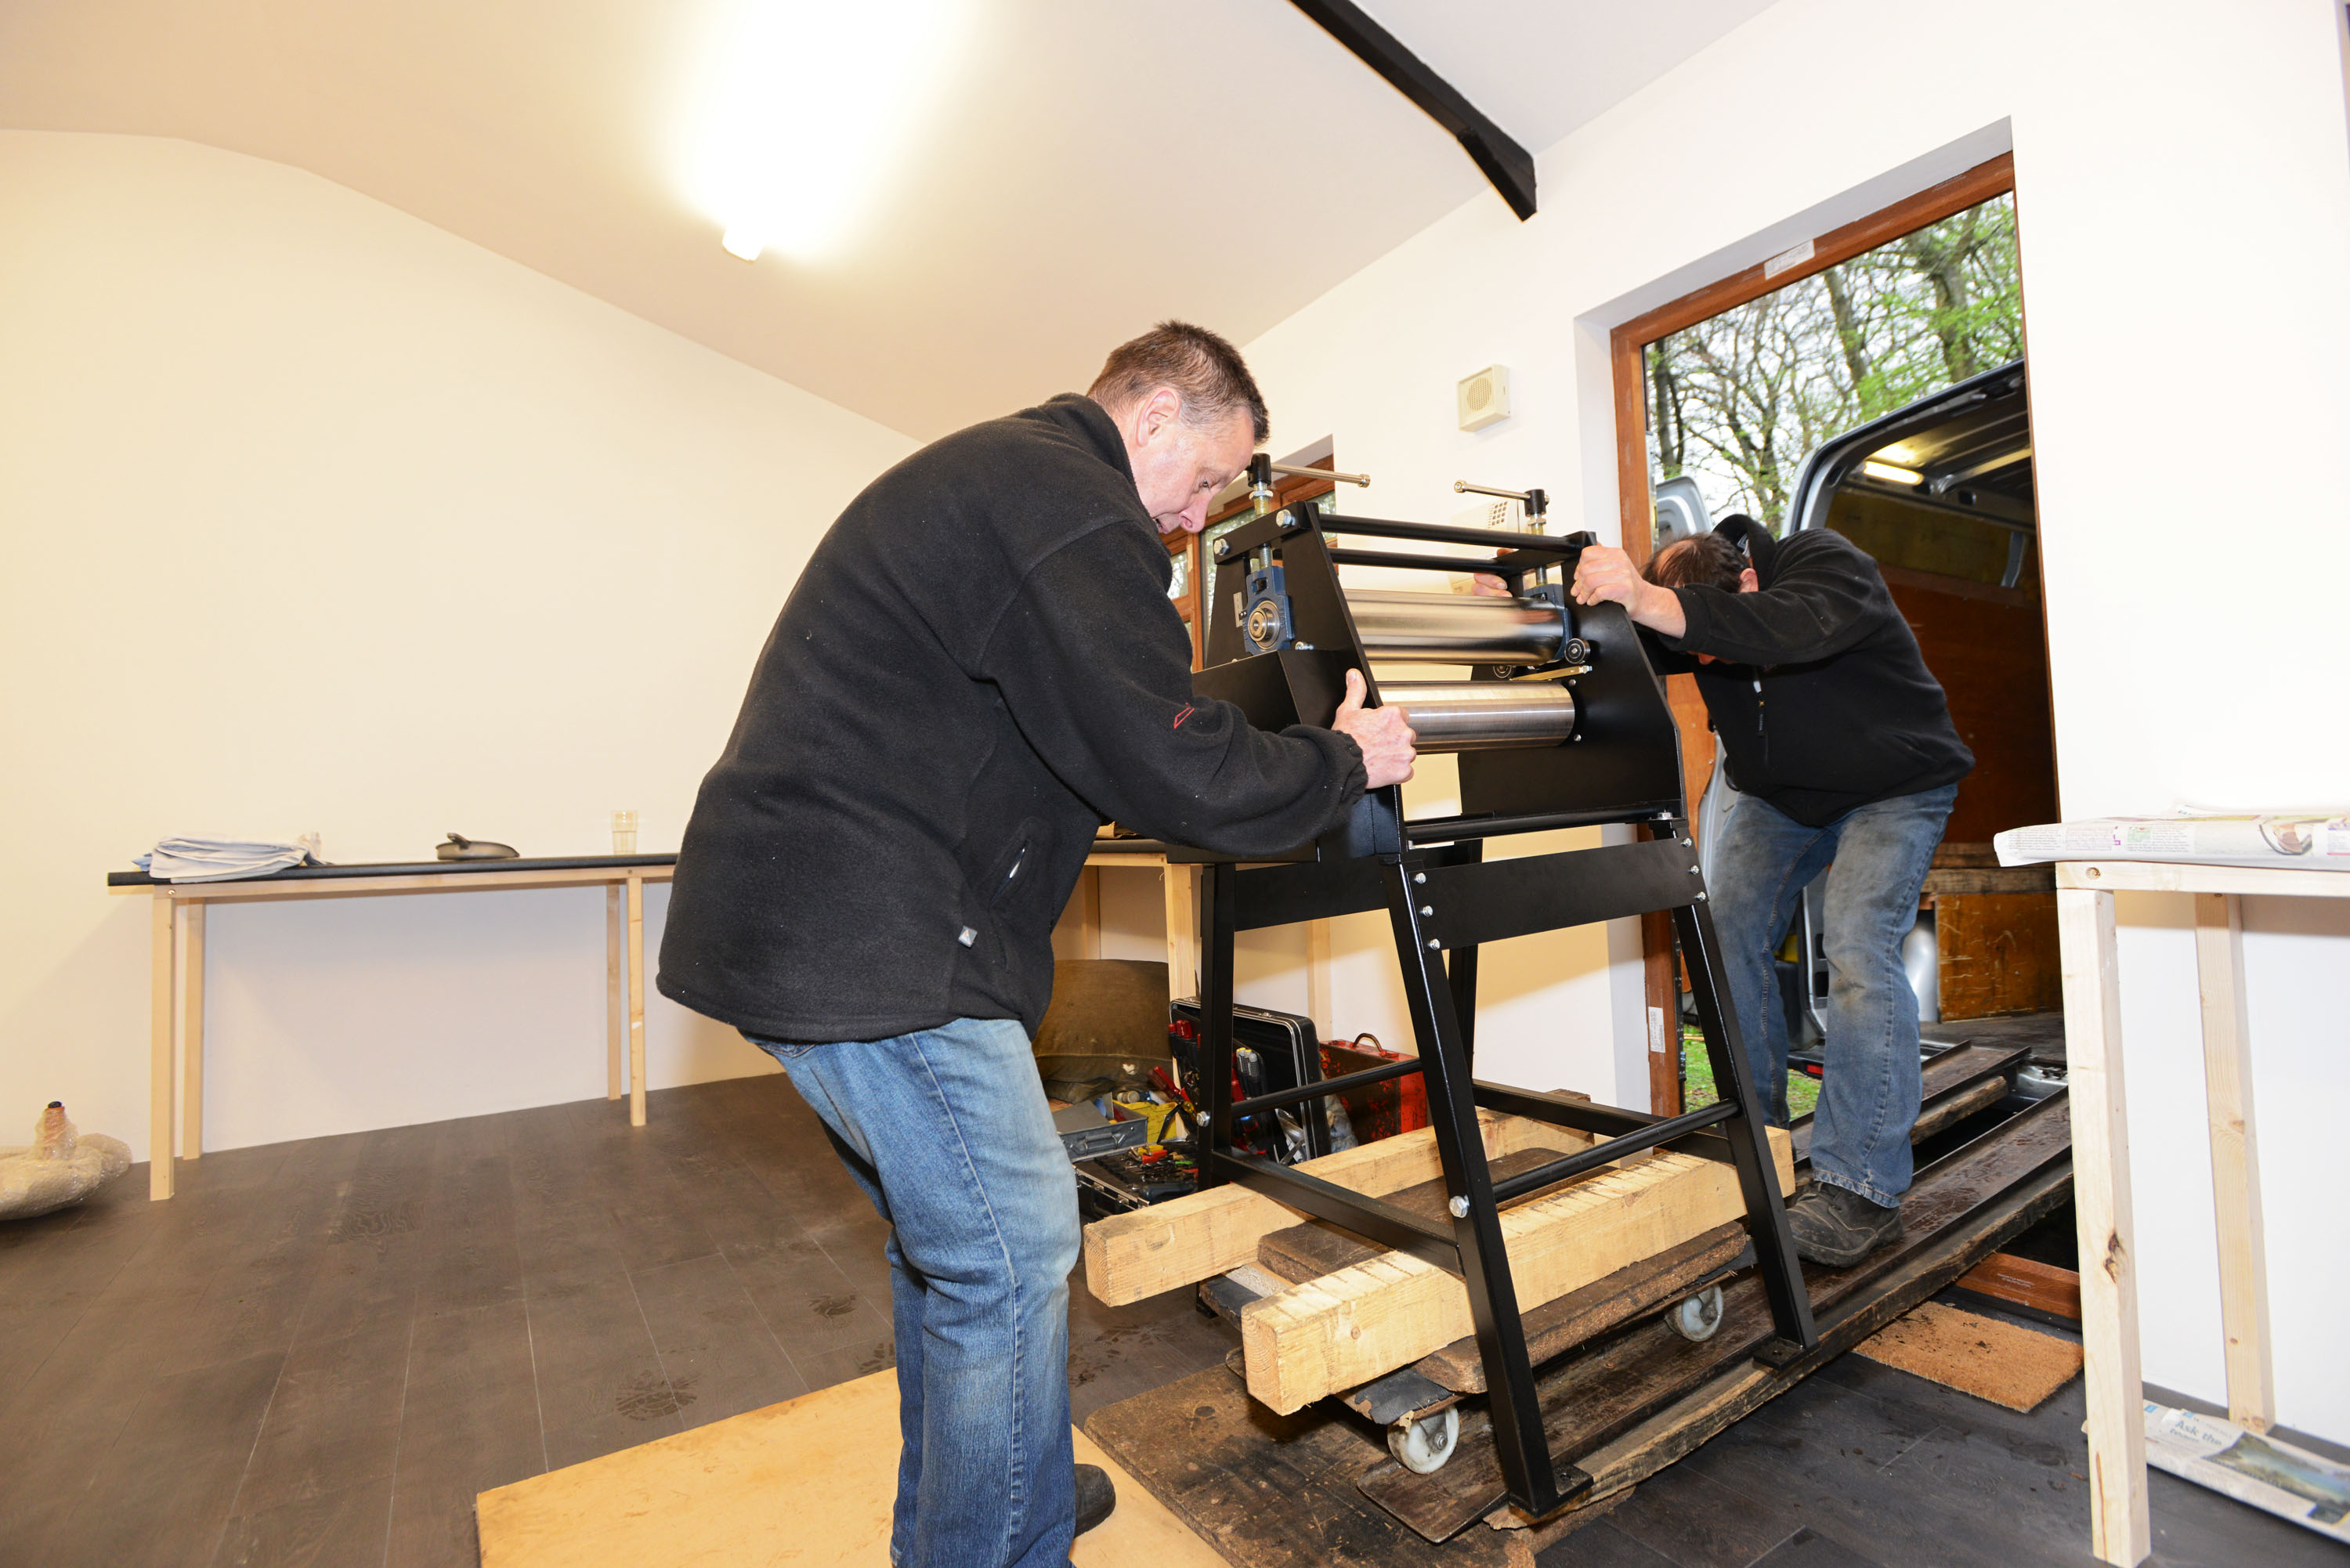
Faced with an empty room it is possible to put everything in a logical position, allowing a flow around the room from clean dry areas for image/plate preparation to clean, wet areas for soaking paper, a blotting paper area, and on to dirty inky areas to mix colours and ink up plates. Then a big clear area for the intaglio press. One corner of the studio is given over to a high-intensity lightbox, with a timing shutter to expose the plates (which is more controllable than using sunshine, although that is a fun process). And a big guillotine – a specialised PCB (printed circuit board) shear is the ideal type capable of cutting A2 plates.
Unlike conventional acid etching, which uses chemicals that need careful handling – photopolymer plates are developed in environmentally-friendly tap water. So all I need is a sink and trays for water. Plus a kettle to keep the water at the right temperature, a hand-friendly 20 degrees C.
FINISHING TOUCHES
Finally, once the print has been pulled it needs drying for which I use a stack of leftover plasterboard (with the edges gaffer taped to prevent gritty plaster dust escaping) these boards are heavy, flat and absorbent.
Otherwise I have cupboards big enough to stand in, if I need to be in low-light, a hairdryer to dry plates once they have been exposed and developed, and a plans chest to store all the Somerset paper I print on, acid-free tissue to keep prints clean and ink away from press blankets and the drying boards, newsprint for general use and then wacky coloured and textured papers for chin-collé (torn bits glued to paper and overprinted for added interest).
Sounds complicated now I write it all down, but in reality because it is all ergonomically laid out it makes total sense to pass round the studio from the start of the process to the completed print.